Most people make soggy quesadillas because they’re cooking the beef filling way too wet. You need to drain every drop of moisture before the beef hits the tortilla, or you’ll end up with a limp, steamed mess instead of crispy edges. I learned this the hard way after years of making rubbery quesadillas that fell apart on the plate.
The secret isn’t fancy ingredients or complicated techniques. It’s understanding that moisture is your enemy when you’re trying to get that perfect crispy exterior. When you brown ground beef properly and remove excess liquid, the filling stays contained inside the tortilla. That means it crisps up beautifully instead of releasing steam that makes everything soggy.
Here’s what makes this different from restaurant versions: you’re controlling the moisture level and the heat. Most home cooks either skip browning the beef completely or they leave it swimming in grease. Neither works. We’re going to hit that beef with high heat, get it browned properly, then drain it completely.
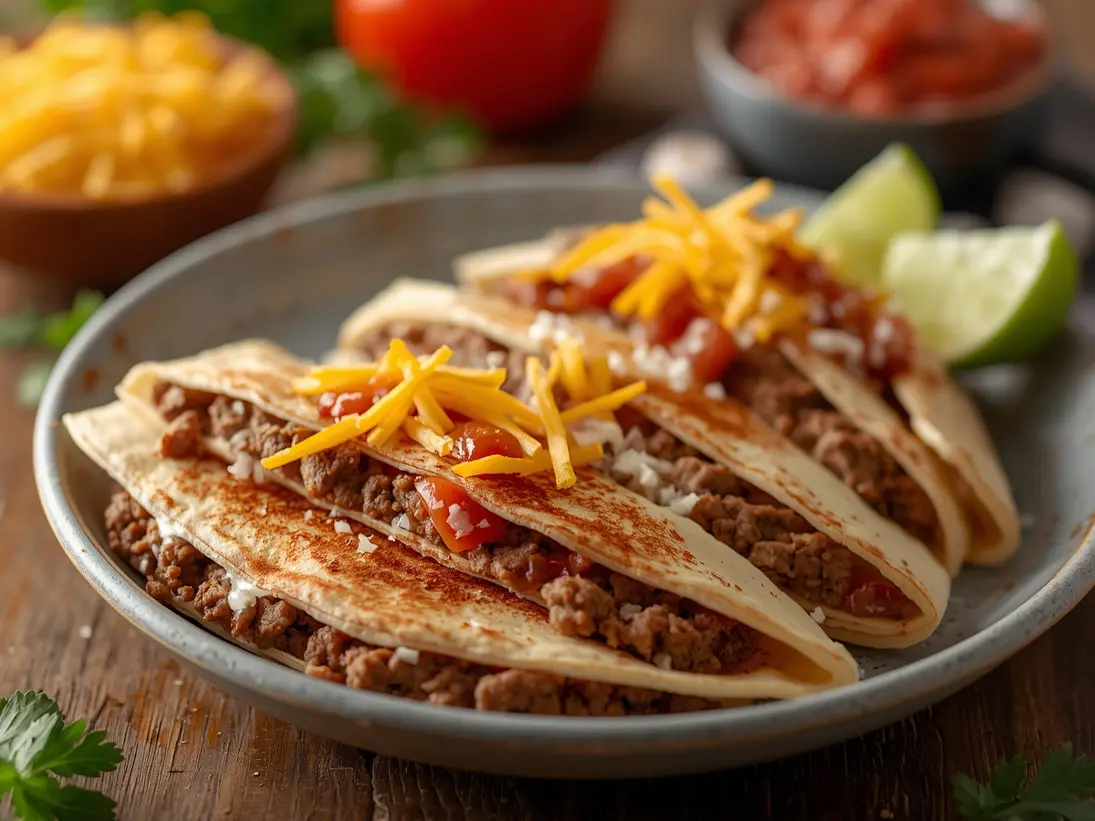
This recipe gets dinner on the table in 15 minutes flat. You’ll have crispy, melty beef quesadillas that actually hold together and taste incredible. Let’s make it happen.
Why most beef quesadillas disappoint
Have you ever noticed that homemade quesadillas never get as crispy as the ones from restaurants? There’s actually a science reason for that. Most home cooks either undercook the beef filling or they don’t remove the moisture that releases during cooking. When moisture stays in the filling, it creates steam when the tortilla hits the hot pan. That steam prevents the tortilla from crisping up and actually softens it instead.
Here’s what’s happening: ground beef is about 20% water by weight. When you cook it, that water releases into the pan. If you leave it there, you’re essentially steaming your filling rather than searing it. The key is browning the beef at high heat (around 375°F in your skillet), then draining it completely before adding your seasonings and salsa.
The filling temperature matters too. Cold filling takes longer to heat through, which means your tortilla spends more time on the pan getting soft instead of crispy. Room-temperature filling crisps everything up in about 90 seconds per side.
Here’s why this method works better than what most recipes tell you:
- Removes moisture completely — no soggy centers or steamed edges from trapped water
- Creates crispy exterior texture — high skillet heat sears the tortilla without softening it first
- Keeps cheese melted but contained — filling doesn’t ooze out because there’s no excess liquid pushing it
- Speeds up cooking time dramatically — properly prepared filling means you’re just warming and crisping, not cooking from scratch
Ingredients for beef quesadillas

- 1 pound ground beef
- 1 small onion, finely diced
- 1/2 red bell pepper, finely diced
- 2 cloves garlic, minced
- 1 teaspoon chili powder
- 1 teaspoon ground cumin
- 4 large flour tortillas
- 1 cup shredded cheddar cheese
- 1/2 cup salsa
- 1/4 cup plain Greek yogurt
- 1 tablespoon olive oil
- Juice of 1 lime
- Salt and pepper to taste
Step-by-step instructions

1. Heat your skillet over medium-high heat and add the ground beef. Break it up as it cooks, pressing it against the pan to get it browned nicely. This takes about 4 minutes total. You want the beef to look brown and slightly crispy, not gray and steamed. Don’t skip this step — it’s where all the flavor happens.
2. Once the beef is browned, push it to the side of the pan and add your diced onion and bell pepper to the empty space. Let them cook for about 2 minutes without stirring. This gives them a slight char and keeps them from getting mushy. Then stir everything together and cook for another minute.
3. Add the minced garlic and cook for about 30 seconds until you smell it getting fragrant. That’s your signal not to burn it. Immediately add the chili powder and cumin. Stir everything together and let it cook for another 30 seconds so the spices release their oils.
4. Pour your salsa into the beef mixture and stir it all together. Let it cook for about 1 minute so the salsa reduces slightly and the filling gets thicker. This is crucial — if your filling is too wet, your quesadillas will be soggy. If it looks soupy, let it cook another 30 seconds.
5. Remove the beef mixture from heat and stir in the lime juice. Taste it and add salt and pepper as needed. Set it aside to cool for just a minute. You want it warm but not hot enough to melt the cheese before the tortilla hits the pan.
6. Heat a clean skillet over medium-high heat. You don’t need to add oil to this pan yet. Place one tortilla on the hot surface and let it warm for about 15 seconds. This helps it become pliable without getting oily.
7. Flip the tortilla and immediately add 1/4 cup of the beef mixture to one half. Sprinkle about 1/4 cup of cheese on top of the beef. Fold the tortilla in half and press down gently with your spatula.
8. Cook for about 45 seconds on the first side until you see the tortilla start to turn golden and crispy. You’ll notice the edges getting darker. That’s exactly what you want. Flip it carefully and cook the other side for another 45 seconds until it’s golden brown and crispy all over.
9. Transfer your finished quesadilla to a cutting board and repeat with the remaining tortillas and filling. You should have 4 quesadillas total. Let them rest for about 1 minute before cutting. This lets the cheese set up so it doesn’t pour out everywhere.
10. Cut each quesadilla into 4 triangles and serve immediately. Serve with the Greek yogurt mixed with a bit more lime juice as a cooling dipping sauce.
Serving ideas for beef quesadillas
These crispy beef quesadillas are honestly perfect on their own, but they’re even better when you pair them with the right sides. The lime-Greek yogurt dipping sauce I mentioned cuts through the richness of the cheese and beef perfectly. You can make it ahead by mixing Greek yogurt with lime juice and a pinch of salt.
Serve these with a simple side salad dressed with lime vinaigrette. The acid and freshness balance out the warm, cheesy quesadillas beautifully. Add some sliced cucumber, cilantro, and red onion if you’re feeling fancy. Or keep it super simple with just romaine and lime juice.
Pico de gallo on the side is always a winner. You can buy pre-made or quickly dice up some tomatoes, onion, cilantro, and jalapeño with lime juice and salt. It adds freshness and texture without being heavy. Pair this with some Spanish rice and black beans, and you’ve got a complete meal that feels restaurant-quality but took you 15 minutes.
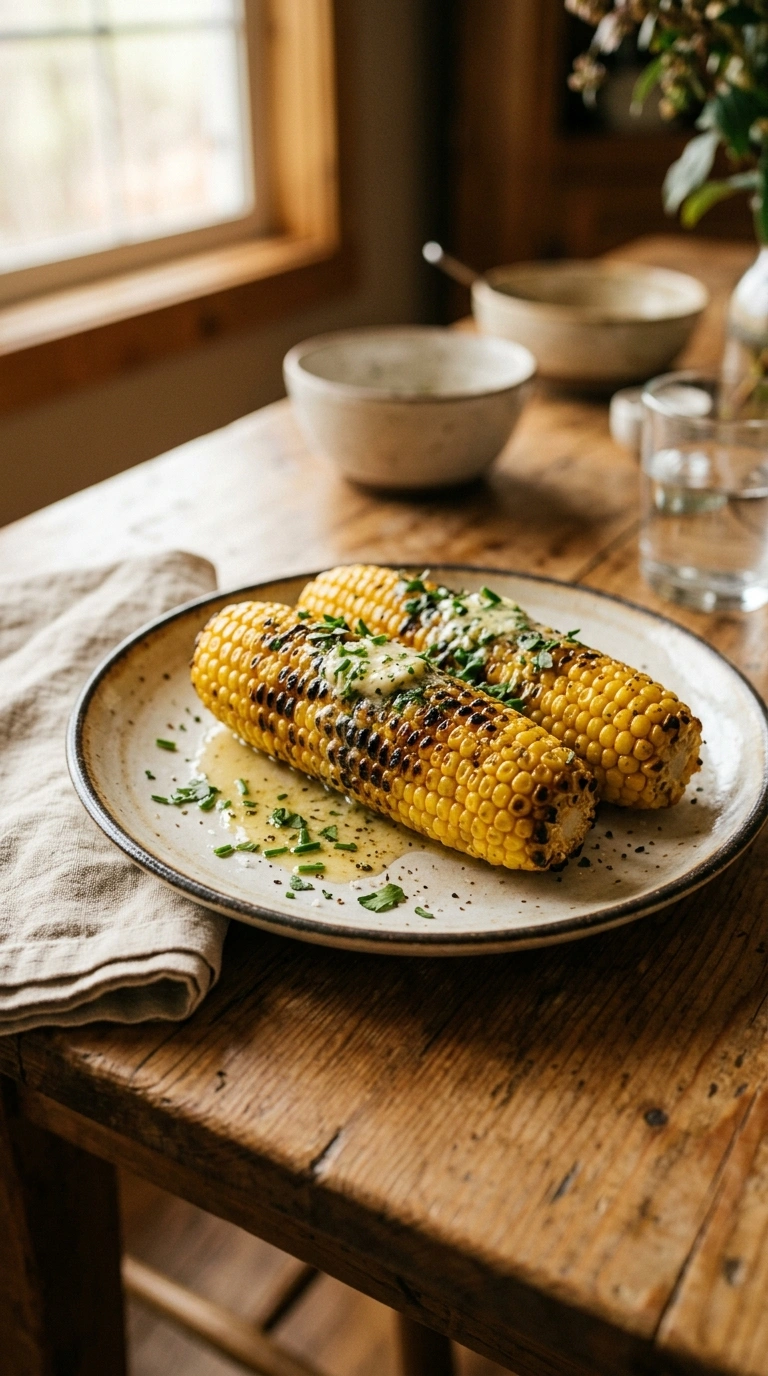
For a lighter option, serve with grilled corn on the cob brushed with lime butter. The charred corn and crispy quesadillas together are absolutely incredible. You could also add some sliced avocado on the side or mash it into a quick guacamole with lime, salt, and cilantro.
Troubleshooting guide
Storage tips
- Store leftover quesadillas in an airtight container in the fridge for up to 3 days maximum.
- Reheat in a skillet over medium heat for about 2 minutes per side to restore crispiness.
- Don’t microwave them — you’ll end up with rubbery, chewy tortillas that taste terrible.
Make-ahead instructions
- Prep your beef filling completely and store it in the fridge for up to 2 days ahead.
- Don’t assemble the quesadillas ahead — the cheese will start sweating and the tortilla gets soft.
- You can have all your ingredients measured and ready, then cook everything fresh when you’re ready to eat.
Variations
- Swap the ground beef for shredded chicken breast for a lighter version that cooks just as fast.
- Add sautéed mushrooms or zucchini to bulk up the filling without adding much weight.
- Try pepper jack cheese instead of cheddar if you want more heat and spice in every bite.
Troubleshooting specific problems
- Quesadillas are soggy — Your filling has too much moisture. Cook it longer to evaporate more liquid, or drain it through a fine mesh strainer.
- Cheese isn’t melting — Your skillet isn’t hot enough or you’re cooking too fast. Medium-high heat is perfect. Give it the full 45 seconds per side.
- Tortillas are burning but filling is cold — Lower your heat slightly to medium and cook for a few seconds longer. The filling should be warm but not piping hot when it goes into the tortilla.
- Filling is leaking out the sides — You’re adding too much filling. Stick to 1/4 cup per quesadilla and don’t overstuff.
Frequently asked questions
Can I make these with corn tortillas instead of flour?
Corn tortillas work, but they’re trickier to fold and they don’t get as crispy. They also tear more easily when you flip them. If you love corn tortillas, try using two thin ones stuck together with a little cheese between them. It helps them hold together better.
What if I don’t have Greek yogurt for the dipping sauce?
Use regular sour cream mixed with lime juice and salt. It’s not quite as tangy, but it works great. You could also use Mexican crema if you can find it at your grocery store — that’s actually more authentic than yogurt anyway.
Can I use frozen ground beef?
You’ll need to thaw it completely first. Frozen beef won’t brown properly and releases way too much water as it thaws. Thaw it in the fridge overnight, then cook it exactly like the recipe says. Don’t try to cook it from frozen — you’ll end up with steamed beef instead of browned.
How do I keep these warm if I’m cooking for a crowd?
Cook them as you go and transfer them to a warm oven at 200°F. Stack them on a baking sheet lined with foil. They’ll stay warm for about 15 minutes without getting soggy. Don’t cover them tightly — let a little steam escape so they don’t get soft.
Final thoughts
You now know what most people miss with beef quesadillas: moisture control is everything. Drain that filling completely and you’ll get crispy, perfect quesadillas every single time. There’s no mystery here. It’s just understanding that wet filling equals soggy tortillas, and nobody wants that.
This 15-minute meal is going to become your go-to weeknight dinner. Your family will ask for it again and again. The best part? You’re not spending hours in the kitchen. You’re spending 15 minutes and ending up with something that tastes like you actually tried.
Make these tonight and watch how crispy they get. You’ll immediately see why this technique works so much better than what you’ve been doing. Once you nail this method, you can start experimenting with different cheeses, proteins, or veggies. But master the basics first — that’s where the real magic happens.
Crispy Beef Quesadillas – Easy 15 Minute Quick Weeknight …
Ingredients
Method
- Heat your skillet over medium-high heat and add the ground beef. Break it up as it cooks, pressing it against the pan to get it browned nicely. This takes about 4 minutes total. You want the beef to look brown and slightly crispy, not gray and steamed. Don’t skip this step — it’s where all the flavor happens.
- Once the beef is browned, push it to the side of the pan and add your diced onion and bell pepper to the empty space. Let them cook for about 2 minutes without stirring. This gives them a slight char and keeps them from getting mushy. Then stir everything together and cook for another minute.
- Add the minced garlic and cook for about 30 seconds until you smell it getting fragrant. That’s your signal not to burn it. Immediately add the chili powder and cumin. Stir everything together and let it cook for another 30 seconds so the spices release their oils.
- Pour your salsa into the beef mixture and stir it all together. Let it cook for about 1 minute so the salsa reduces slightly and the filling gets thicker. This is crucial — if your filling is too wet, your quesadillas will be soggy. If it looks soupy, let it cook another 30 seconds.
- Remove the beef mixture from heat and stir in the lime juice. Taste it and add salt and pepper as needed. Set it aside to cool for just a minute. You want it warm but not hot enough to melt the cheese before the tortilla hits the pan.
- Heat a clean skillet over medium-high heat. You don’t need to add oil to this pan yet. Place one tortilla on the hot surface and let it warm for about 15 seconds. This helps it become pliable without getting oily.
- Flip the tortilla and immediately add 1/4 cup of the beef mixture to one half. Sprinkle about 1/4 cup of cheese on top of the beef. Fold the tortilla in half and press down gently with your spatula.
- Cook for about 45 seconds on the first side until you see the tortilla start to turn golden and crispy. You’ll notice the edges getting darker. That’s exactly what you want. Flip it carefully and cook the other side for another 45 seconds until it’s golden brown and crispy all over.
- Transfer your finished quesadilla to a cutting board and repeat with the remaining tortillas and filling. You should have 4 quesadillas total. Let them rest for about 1 minute before cutting. This lets the cheese set up so it doesn’t pour out everywhere.
- Cut each quesadilla into 4 triangles and serve immediately. Serve with the Greek yogurt mixed with a bit more lime juice as a cooling dipping sauce.